Remember when we use to do monthly goals?! Well, that kind of went out the window some when we were both pregnant because we were either trying to hide that we were pregnant and having fake goals and real goals at once is hard OR we can’t always control when some goals get done. Case in point would be headboards! 🙂
So in 2014 we both spent a lot of time getting things done with our husbands before the babies came so that we could be as ready and as prepared as we could possibly be or so we thought.
Back to “we can’t always control when goals get done,” Teal had made “make a headboard” one of her monthly goals once upon a time, but since neither of us have really cut wood ourselves and fully assembled a furniture piece we weren’t going to be able to tackle this specific project alone. We both wanted to make headboards and finally back in January with some help we did!
Here are our instructions for how to construct a DIY Headboard:
Step 1: Have a person like Beth’s SIL who can do wood crafts.
Step 2: Buy wood from Home Depot or some similar type store (what kind of wood? We don’t know that silly!)
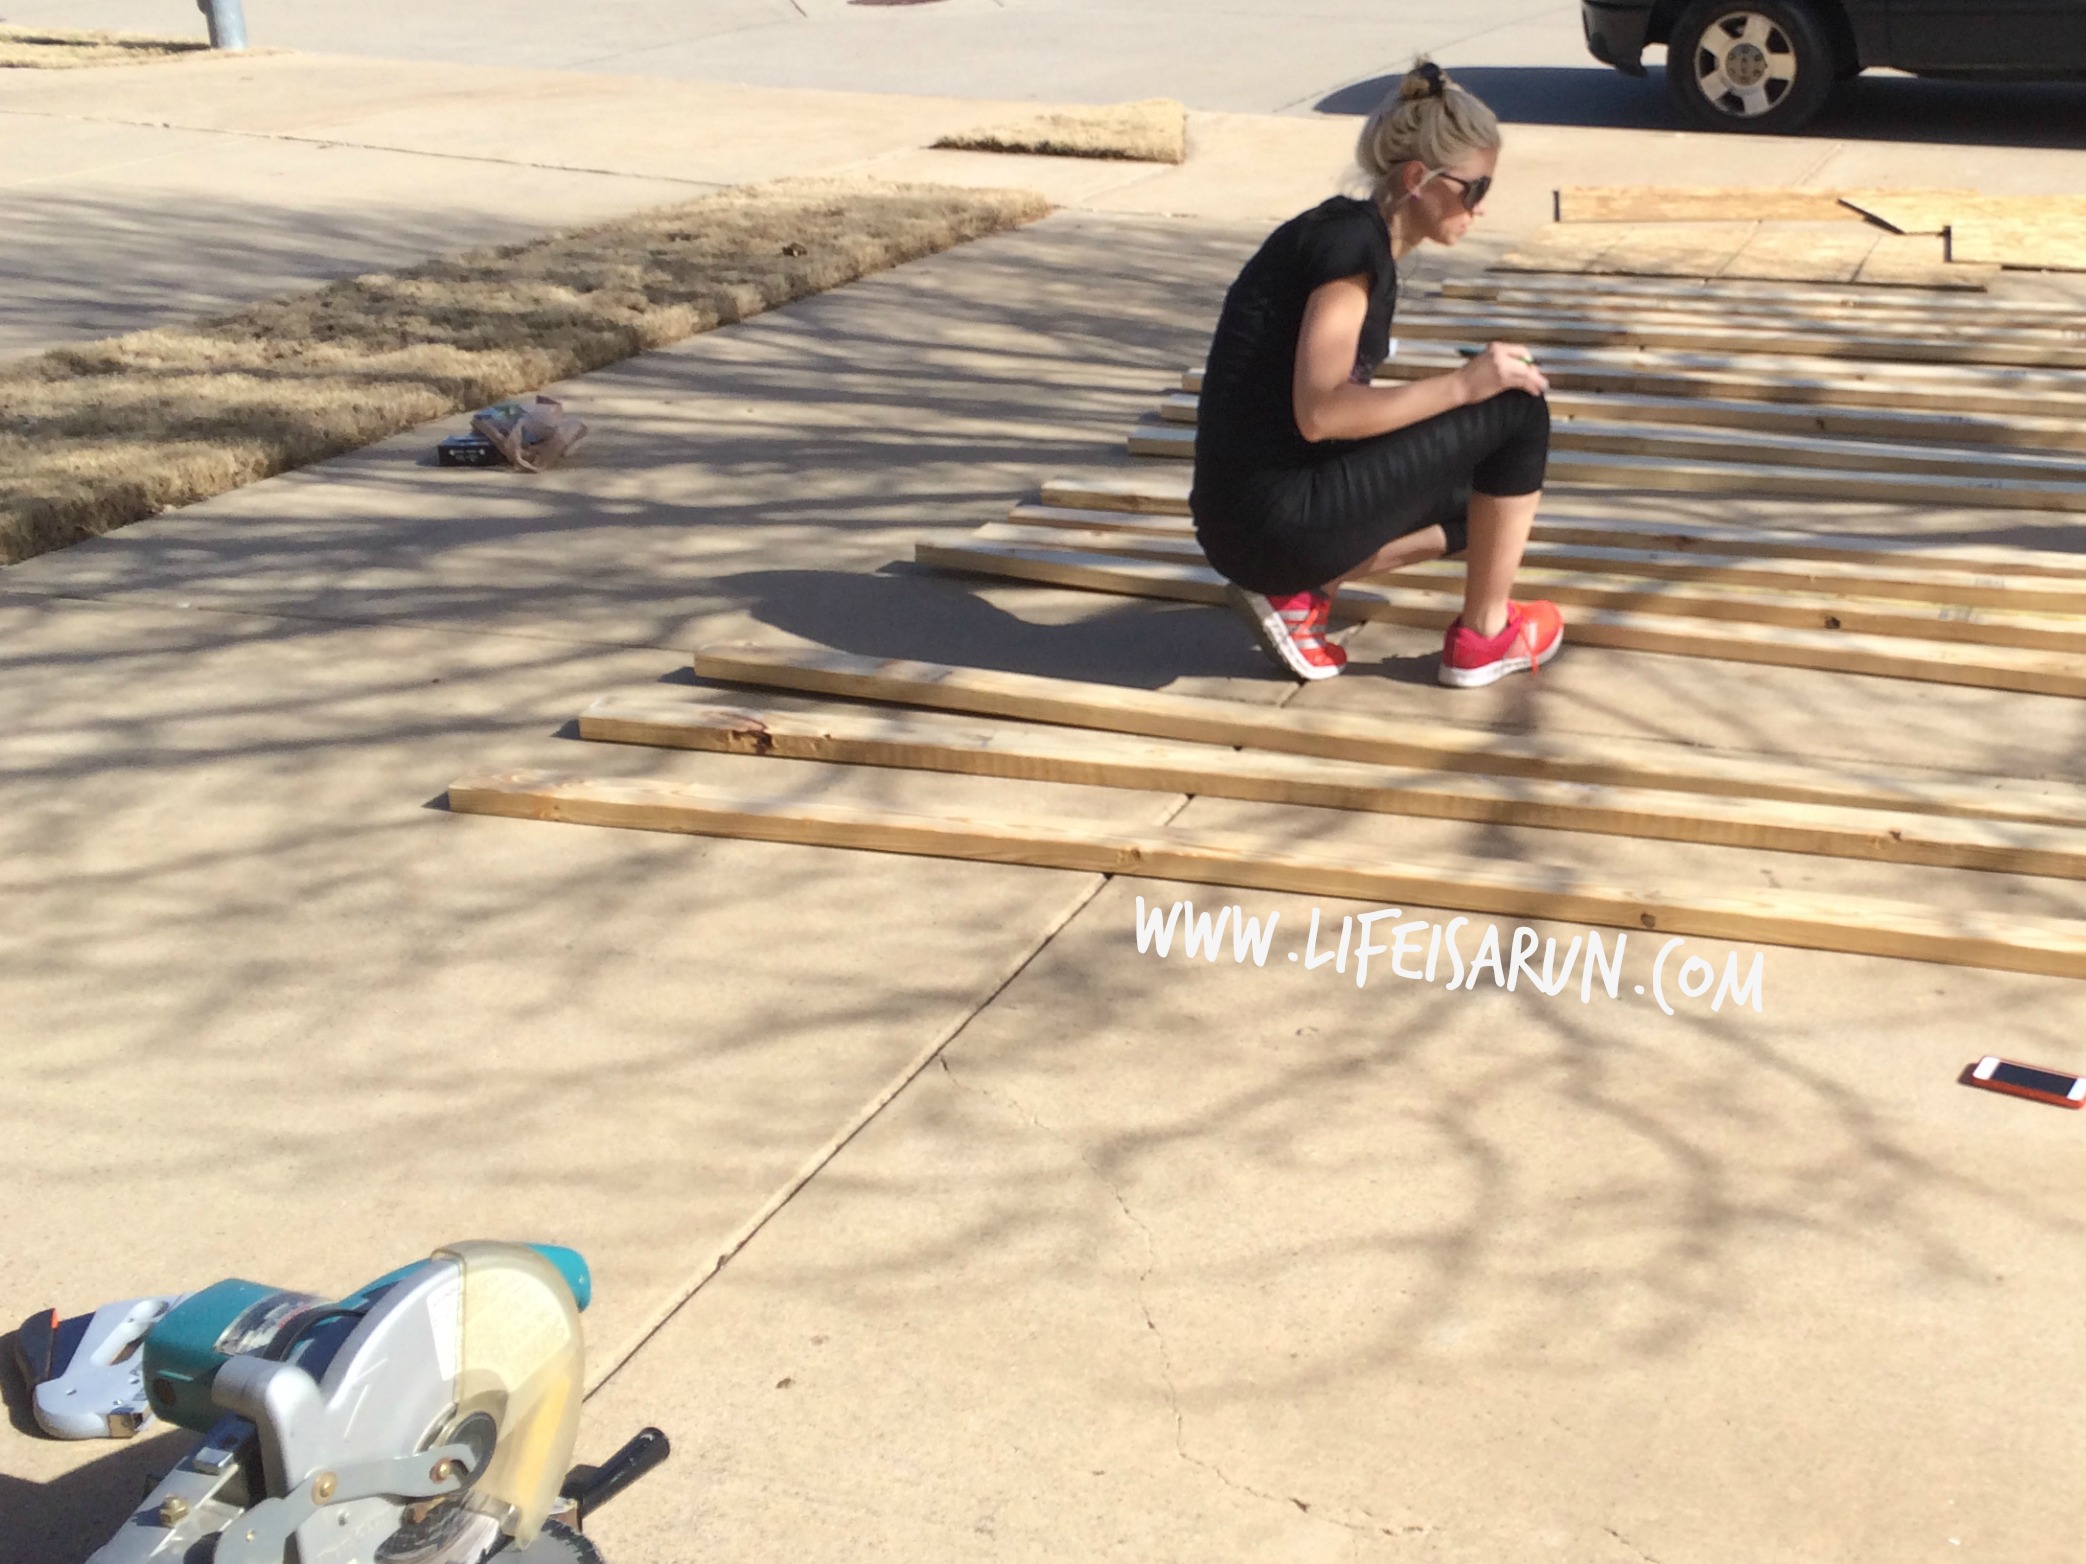
Step 3: Have the actual piece of wood that will span the height and width of your headboard cut into the correct height and width dimensions (again we don’t know the precise numbers)
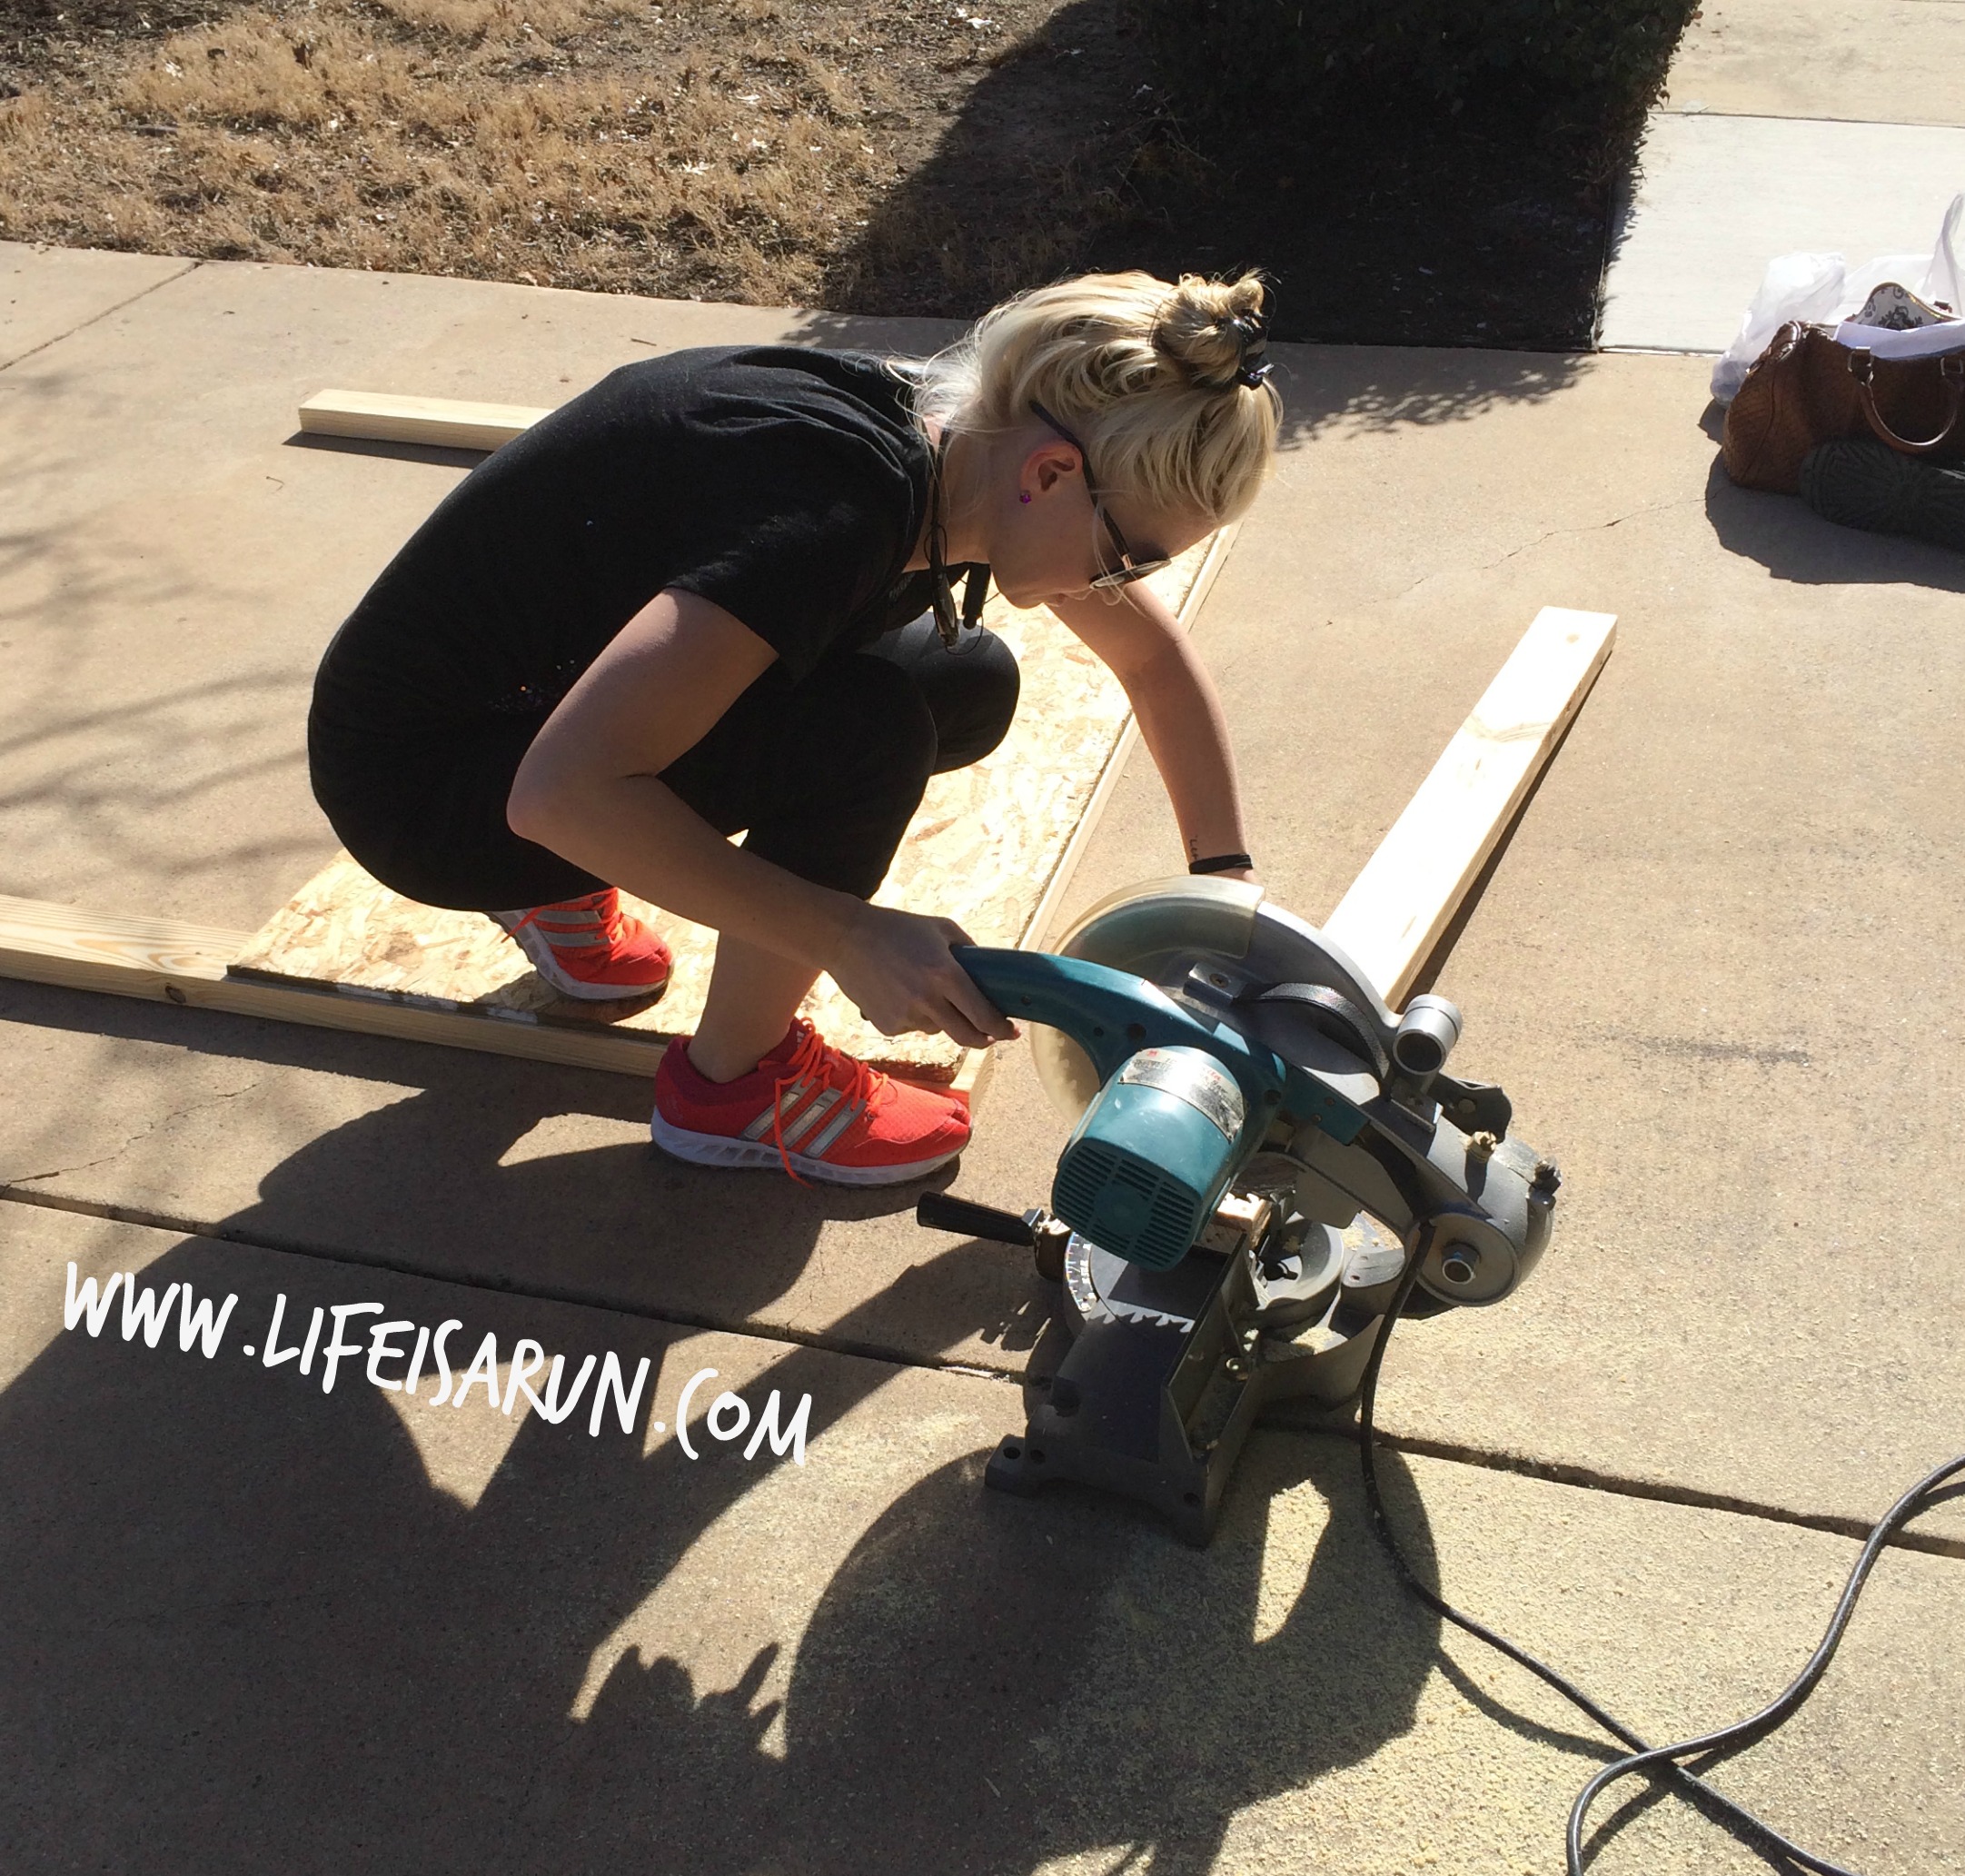
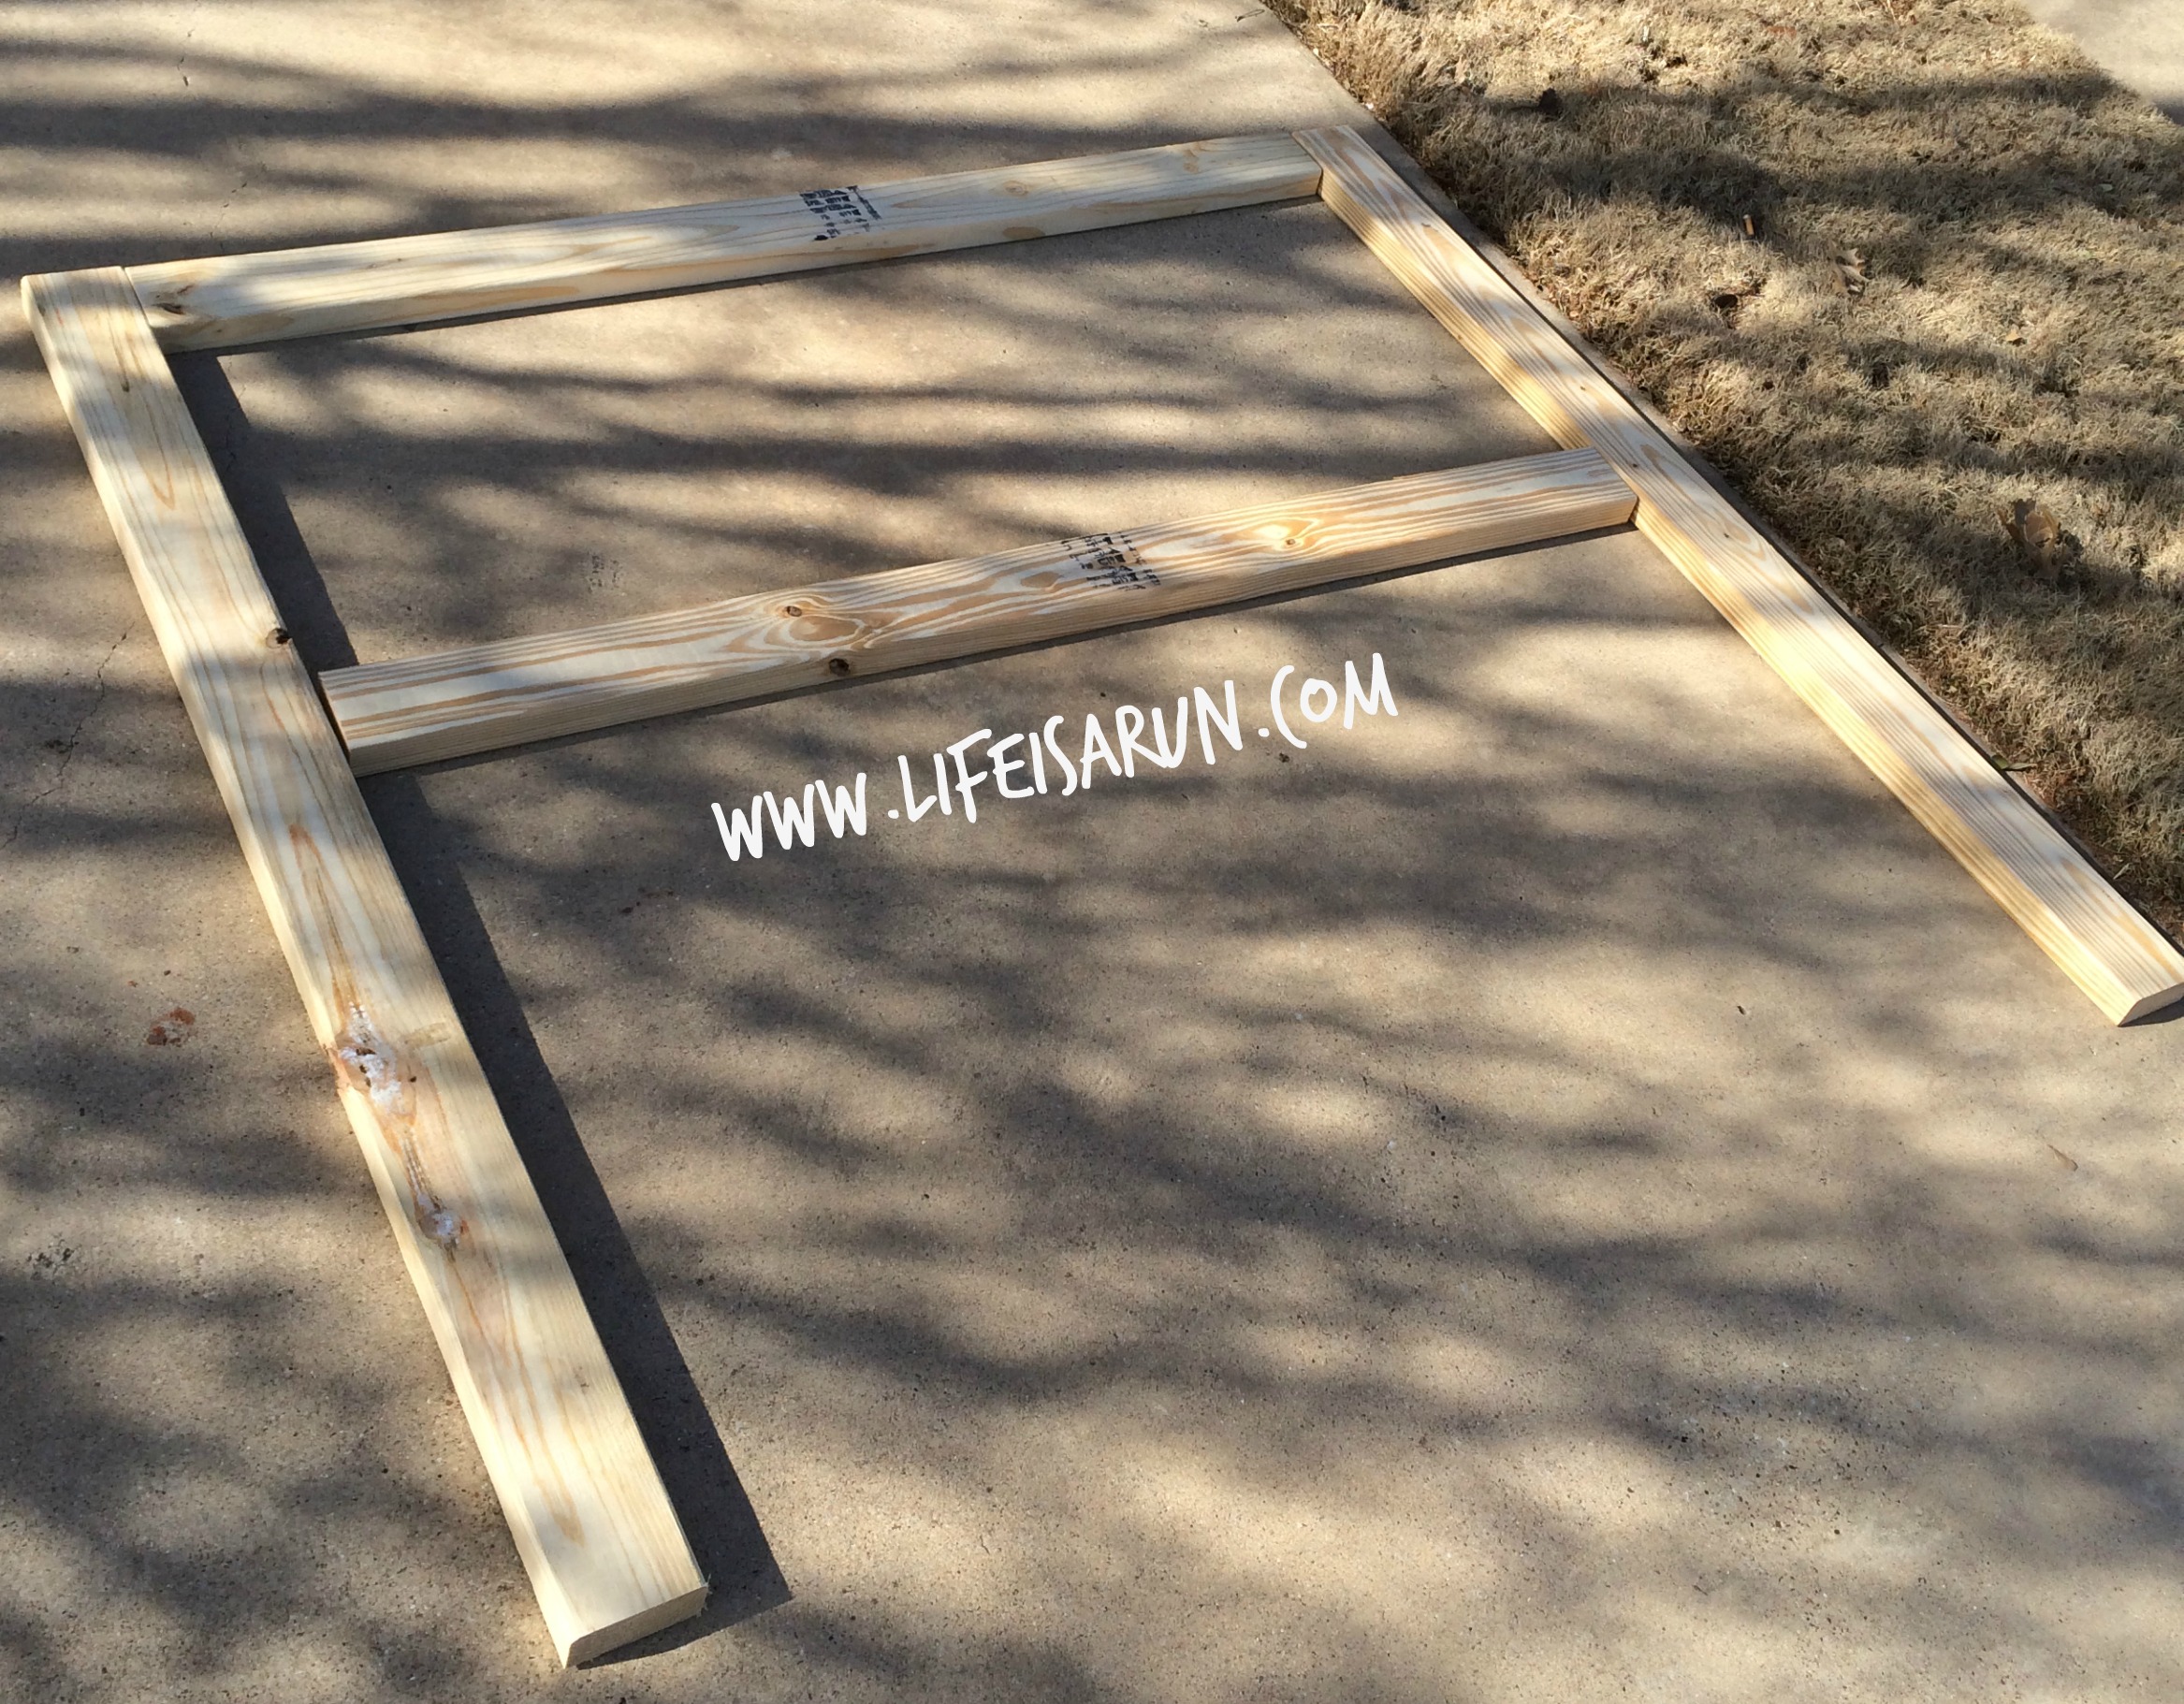
Step 4: Get handy dandy SIL to use a circle saw to cut the 4x4s (oh, hey! We bought 4x4s) you bought to create the headboard legs and to cover the width of the headboard.
Step 5: Connect large headboard piece and 4x4s
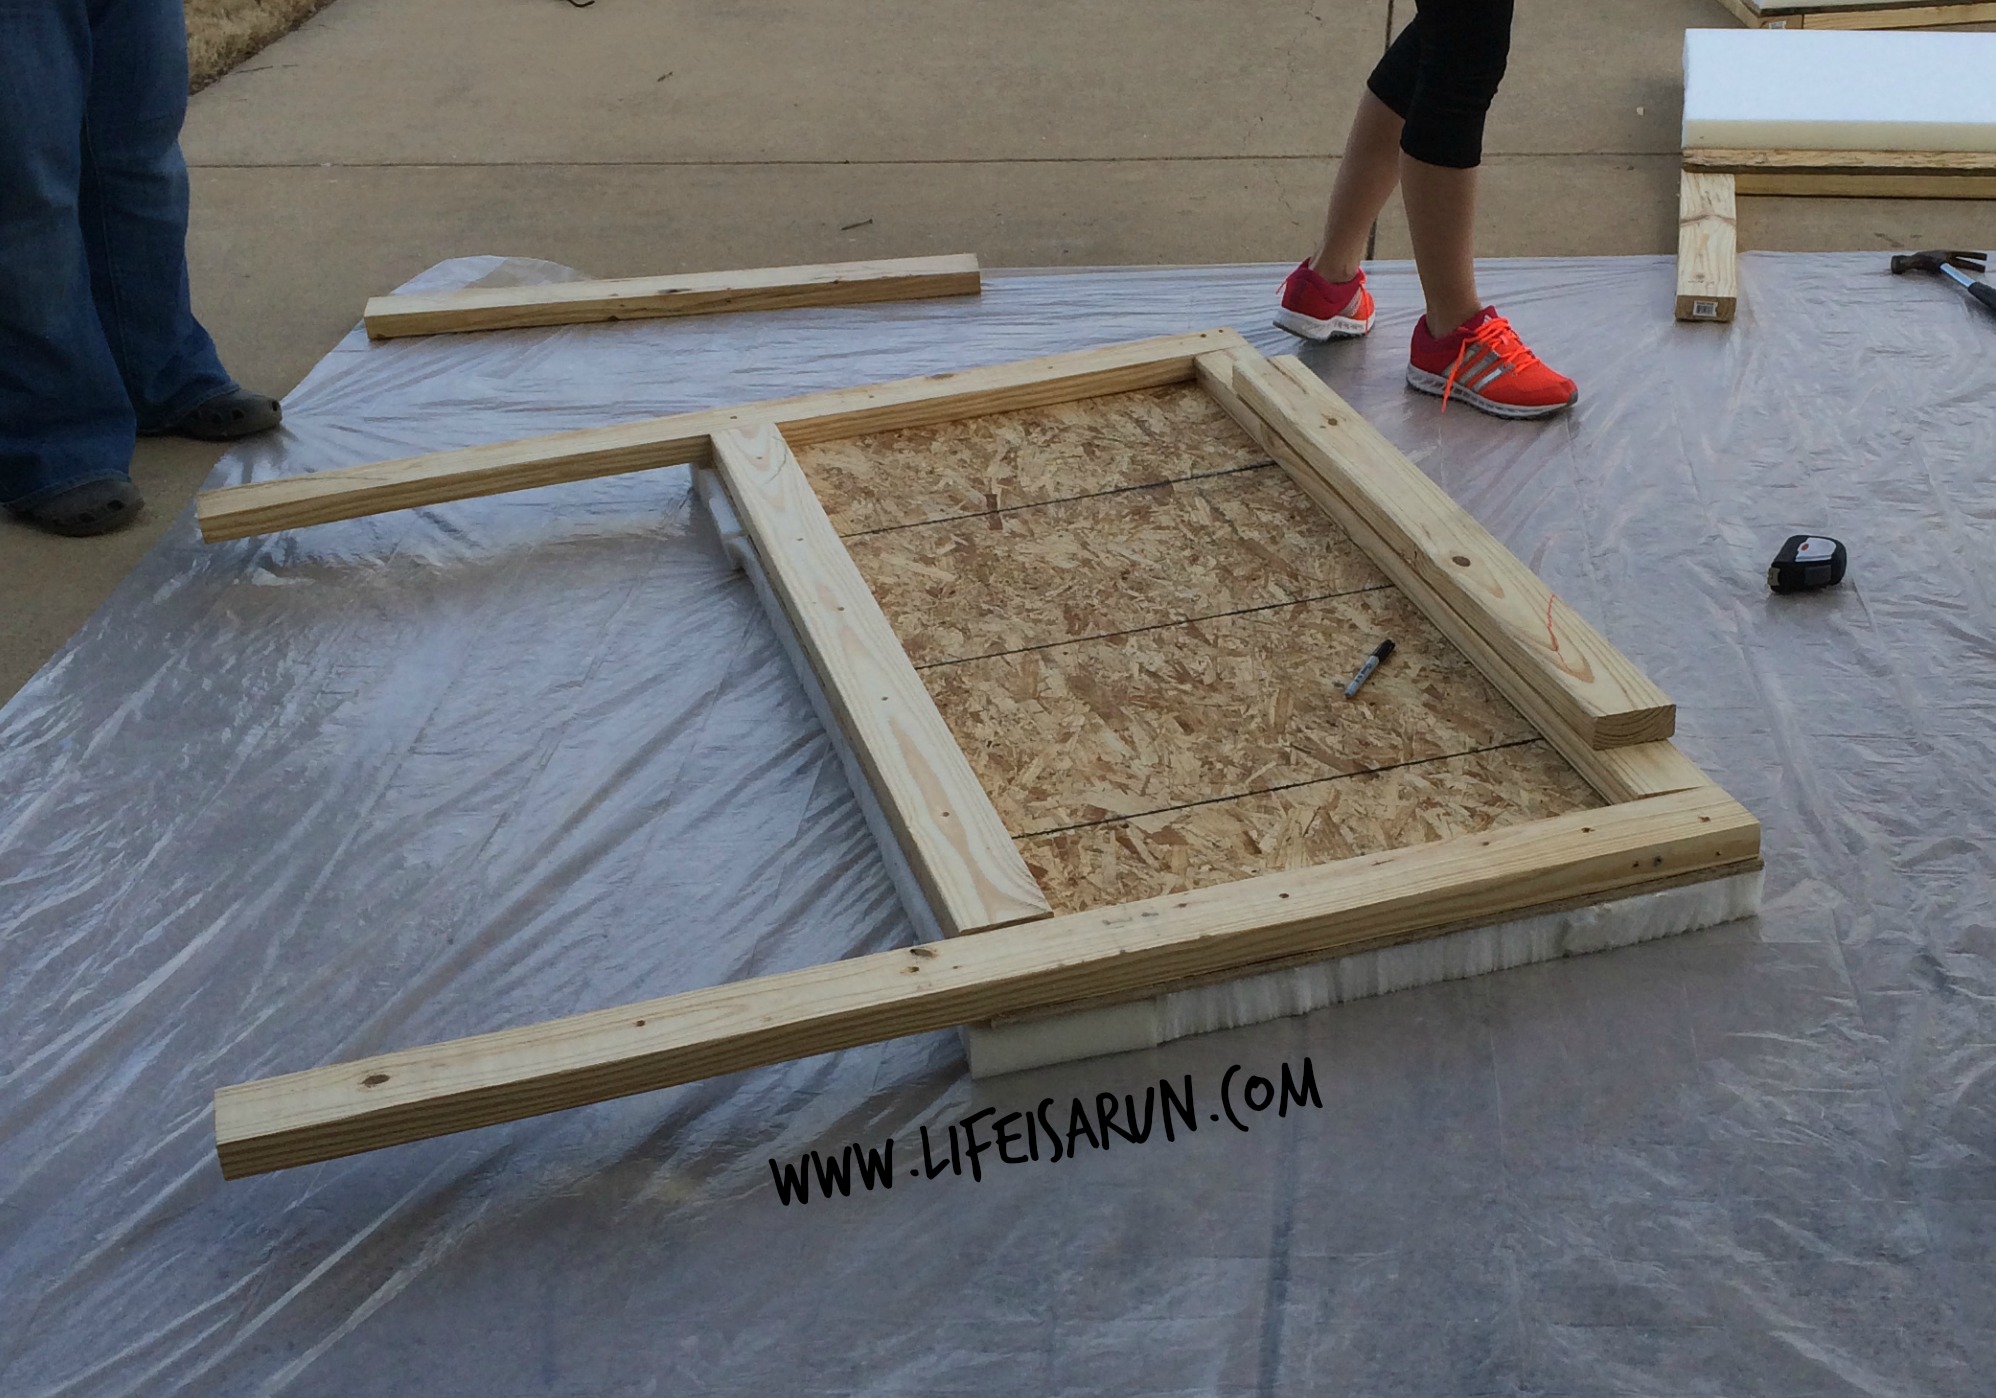
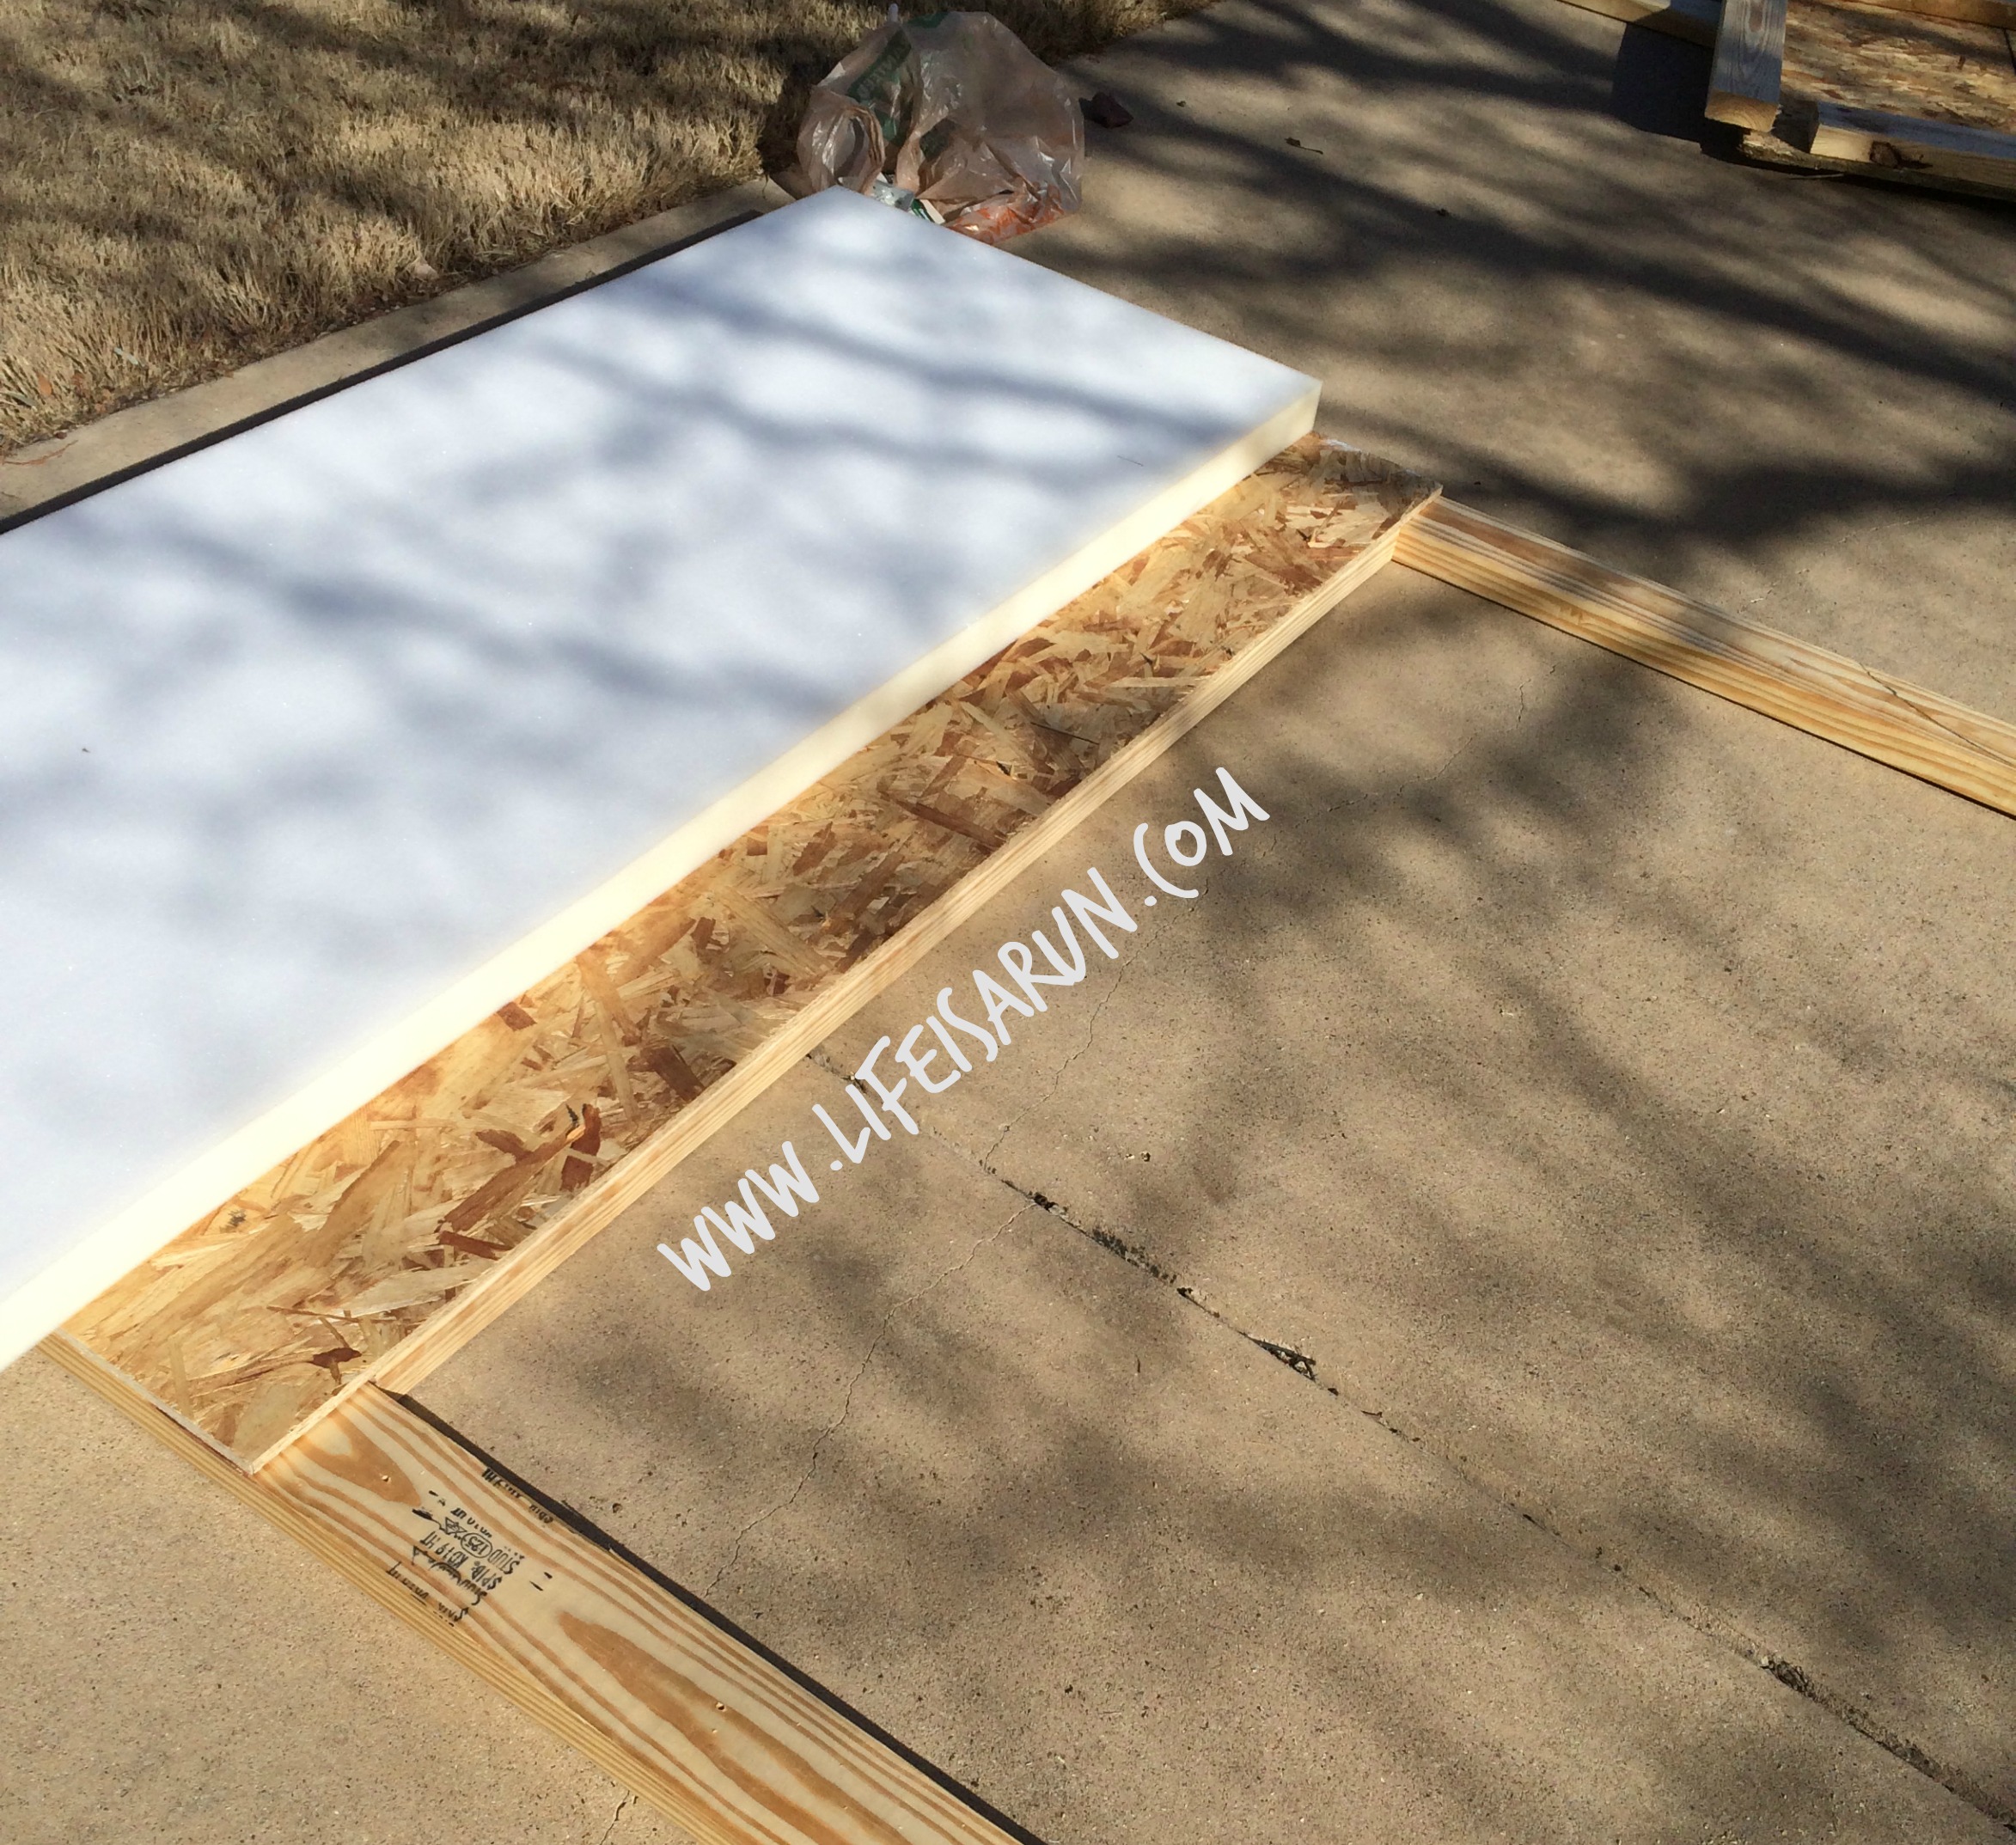
Step 6: Glue the foam piece handy dandy SIL and Beth’s sister pre-bought for everyone to the large headboard piece of wood.
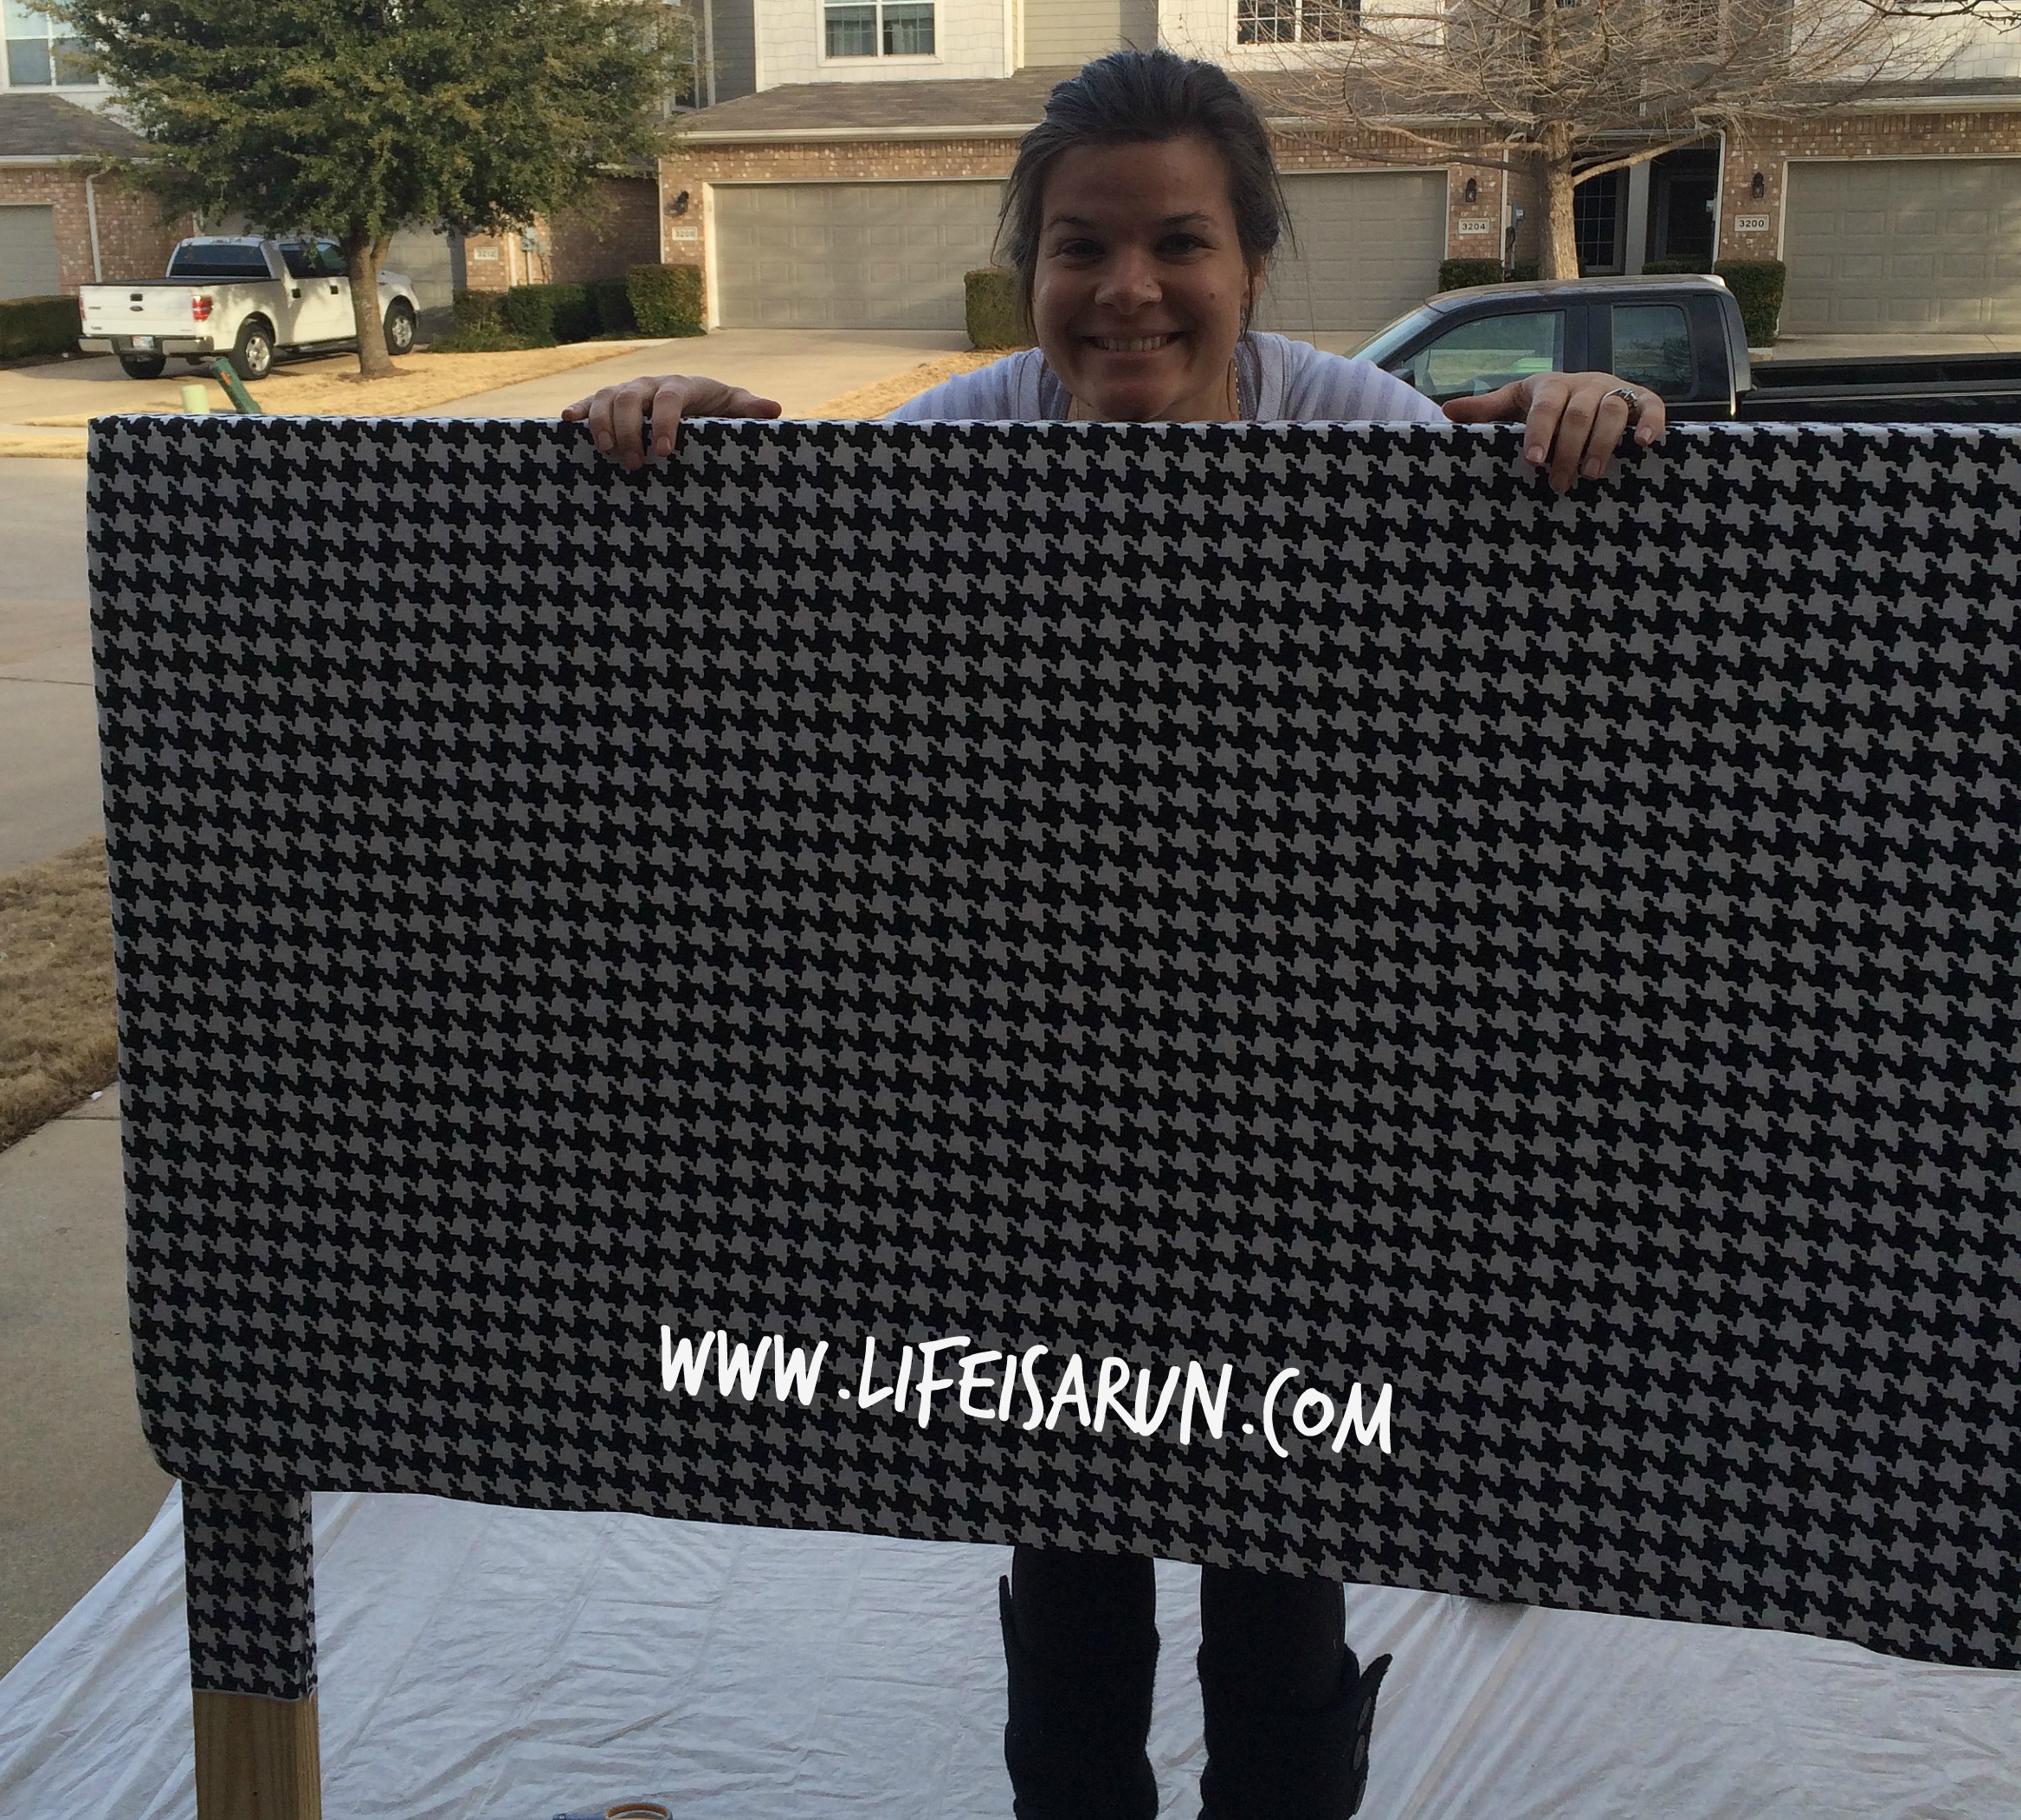
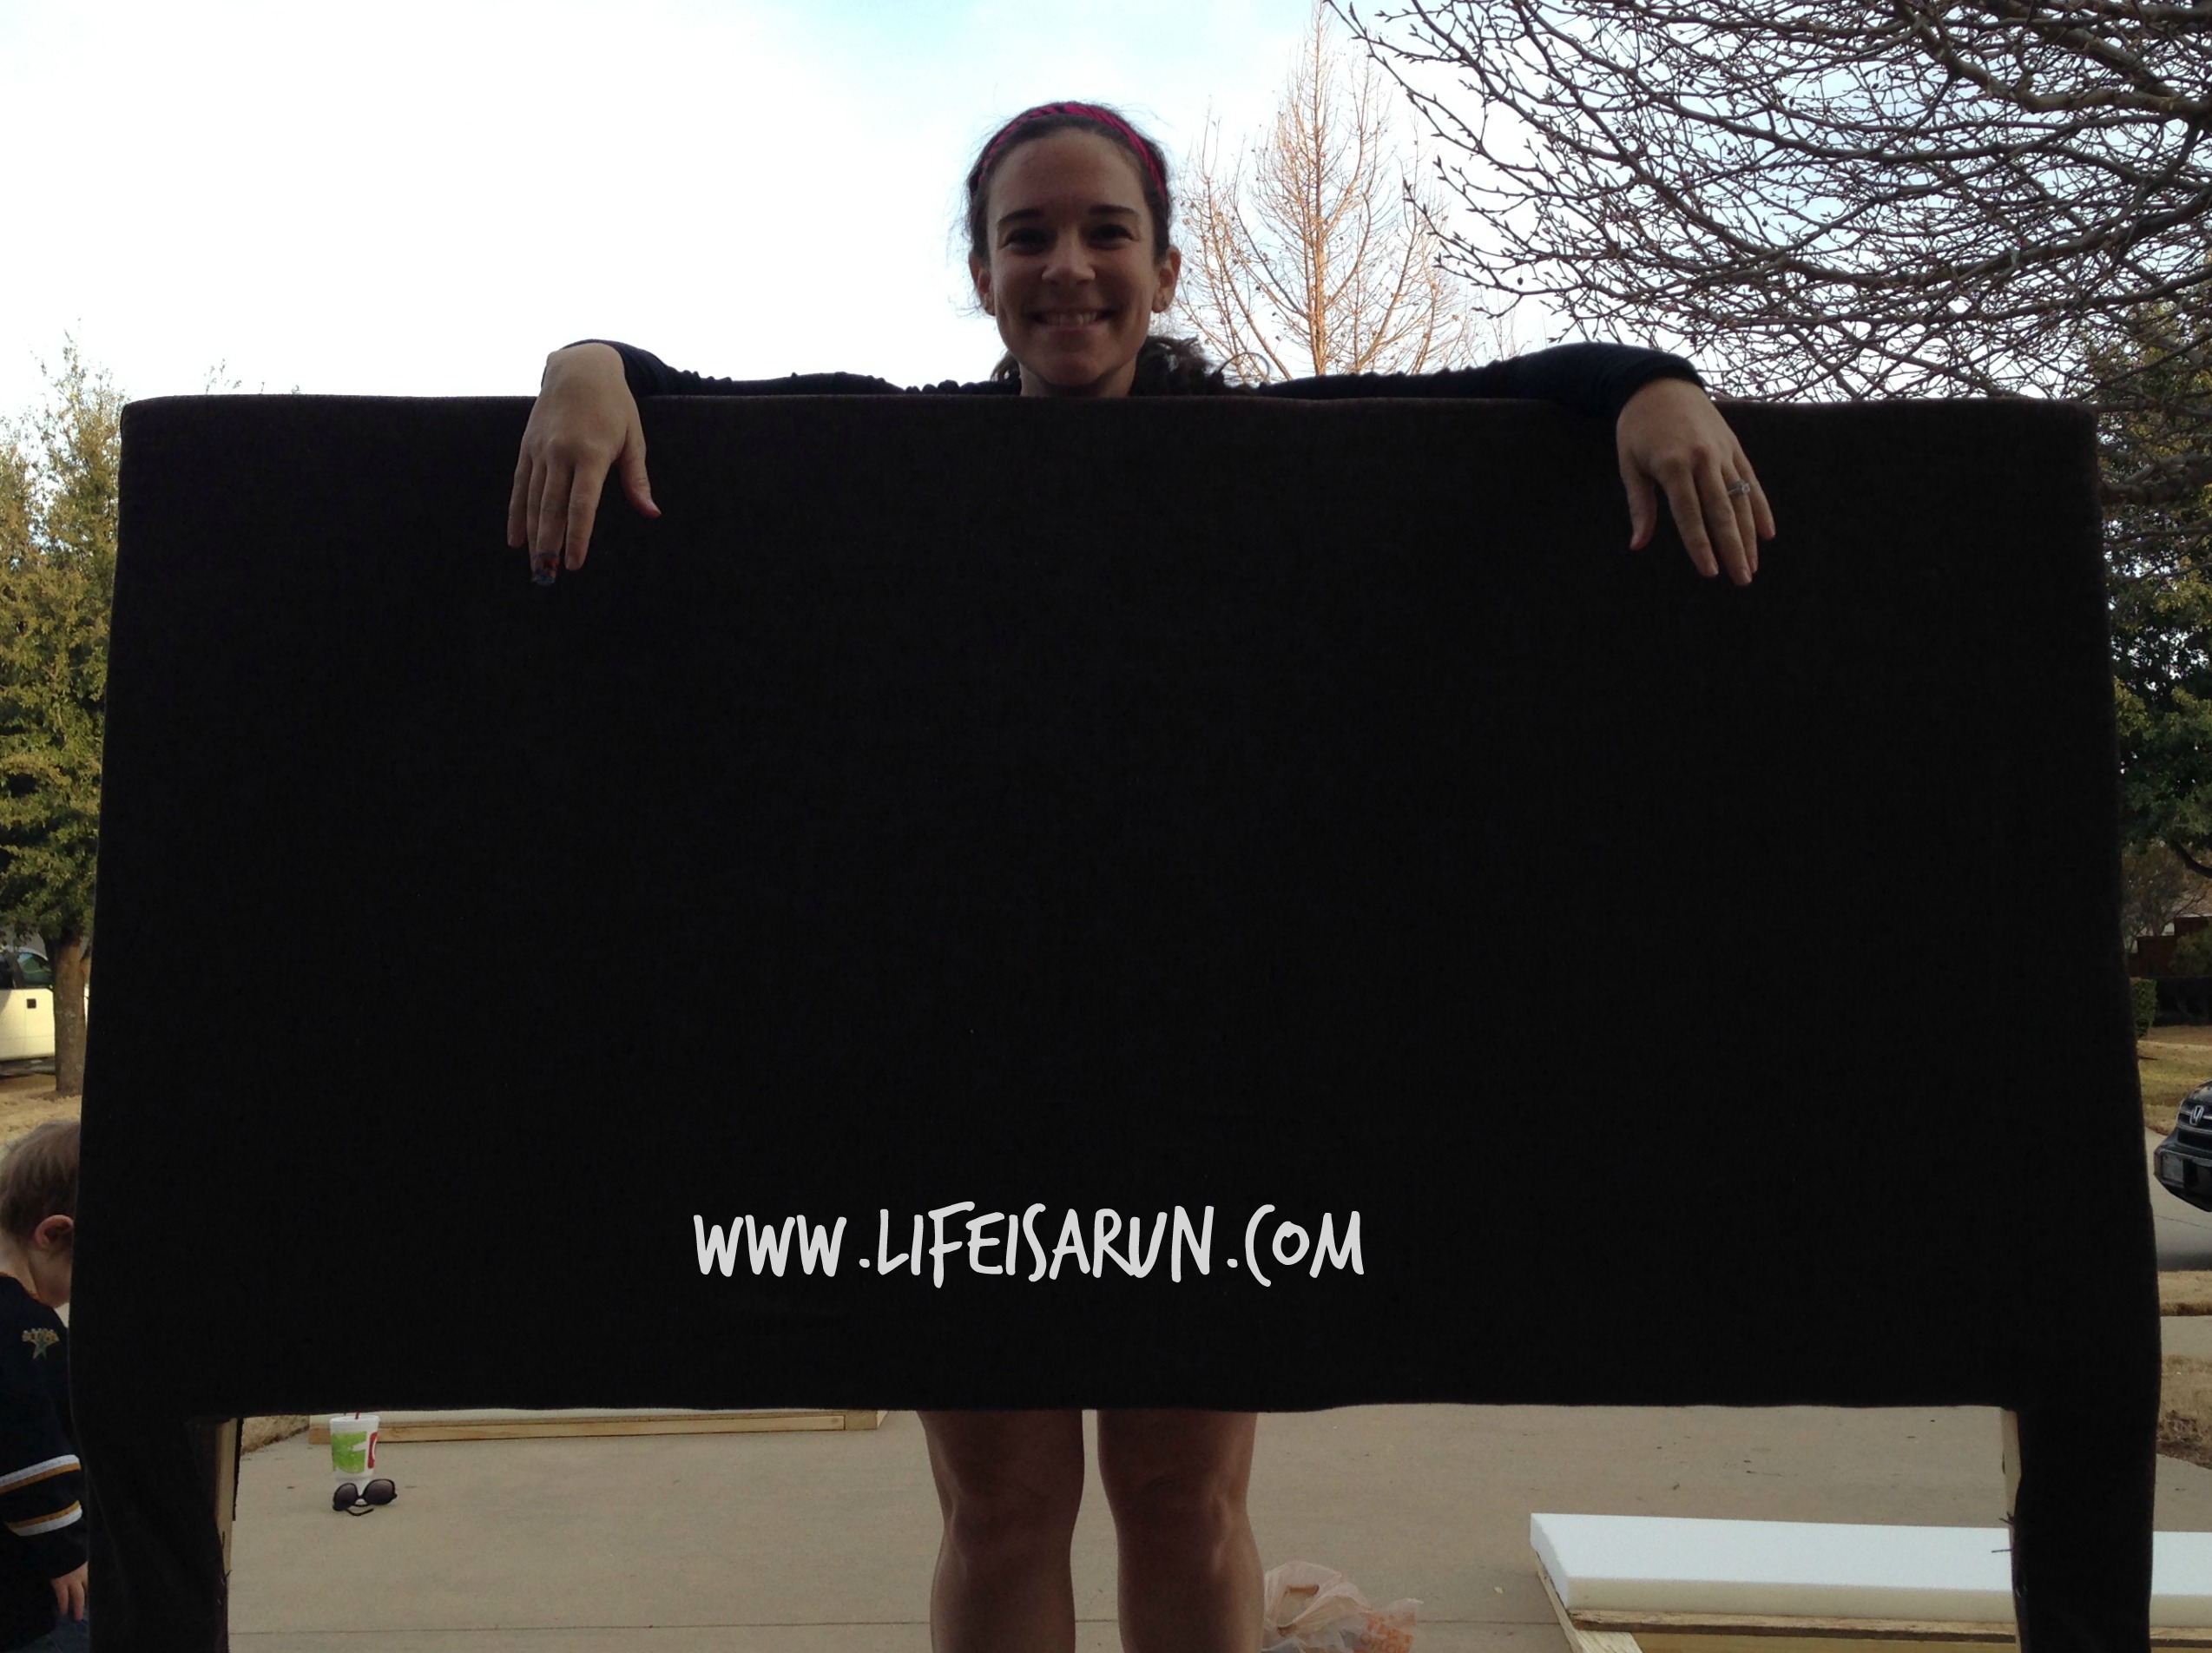
Step 7: Wrap headboard in the fabric you pre-bought for the making of headboards.
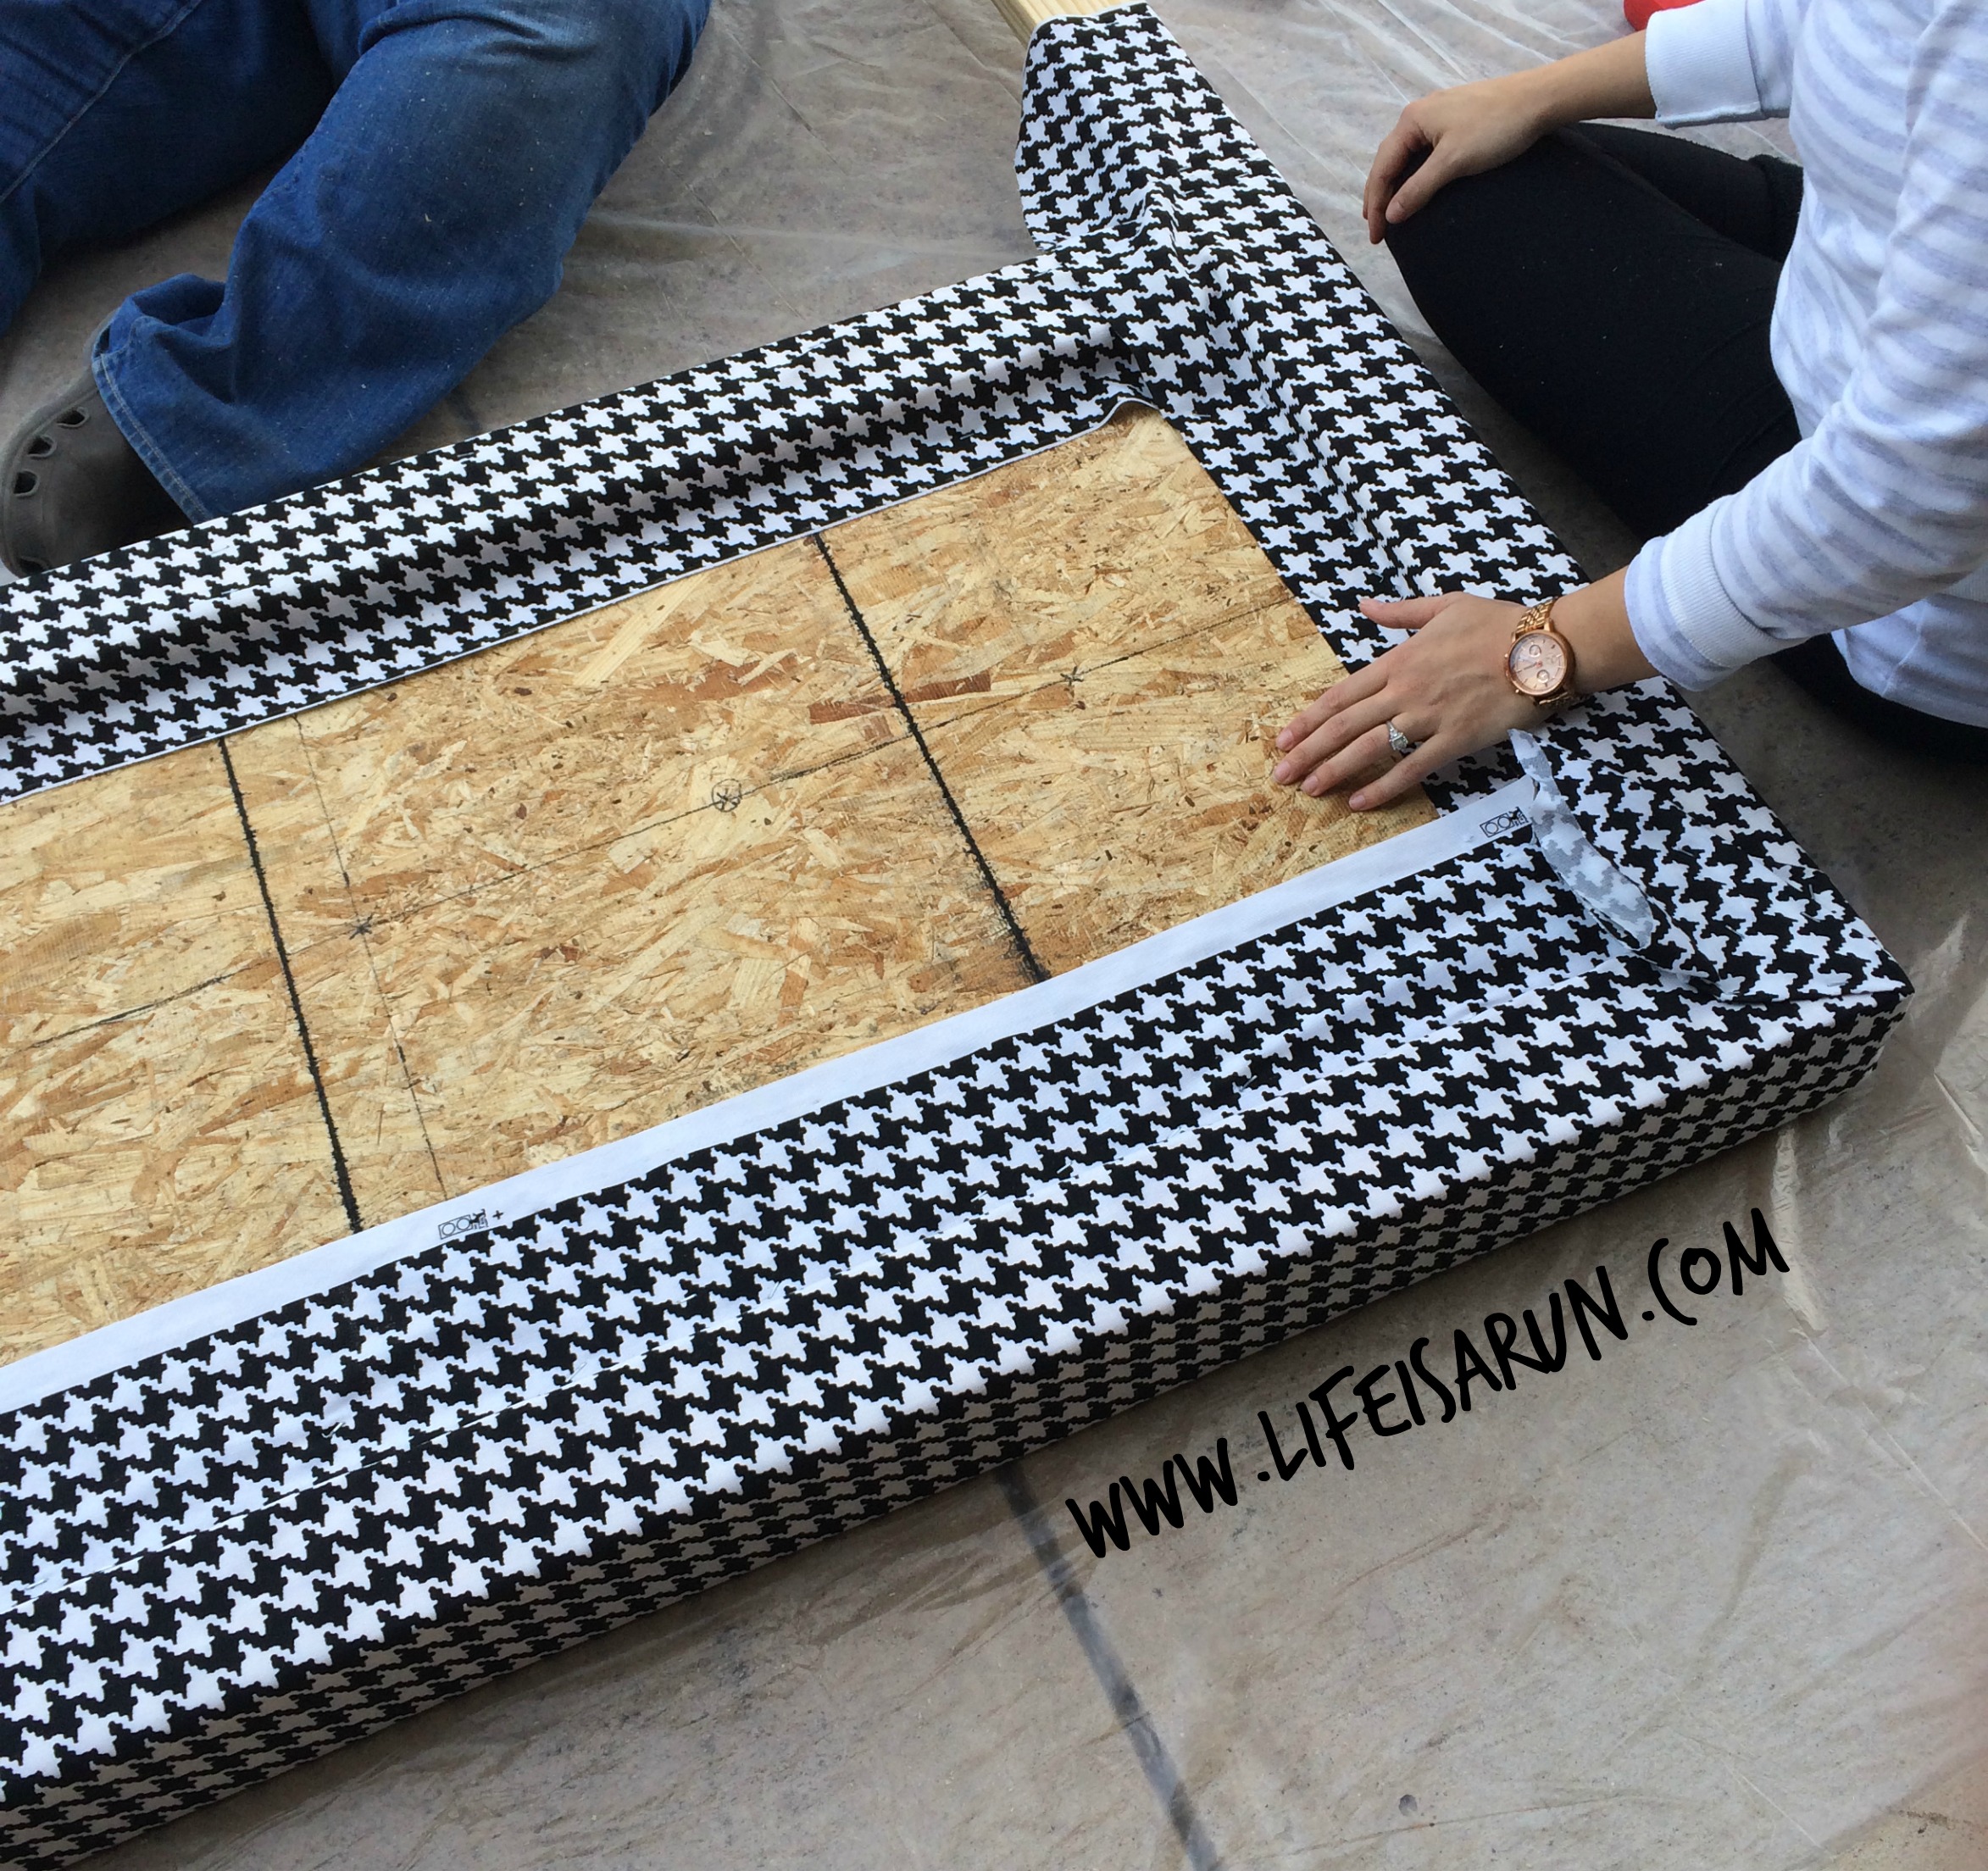
Step 8: Use the nail gun to staple the fabric to the headboard. And voila!
Optional Step 9: Have a cute little kid test out the comfort of the headboard. 🙂

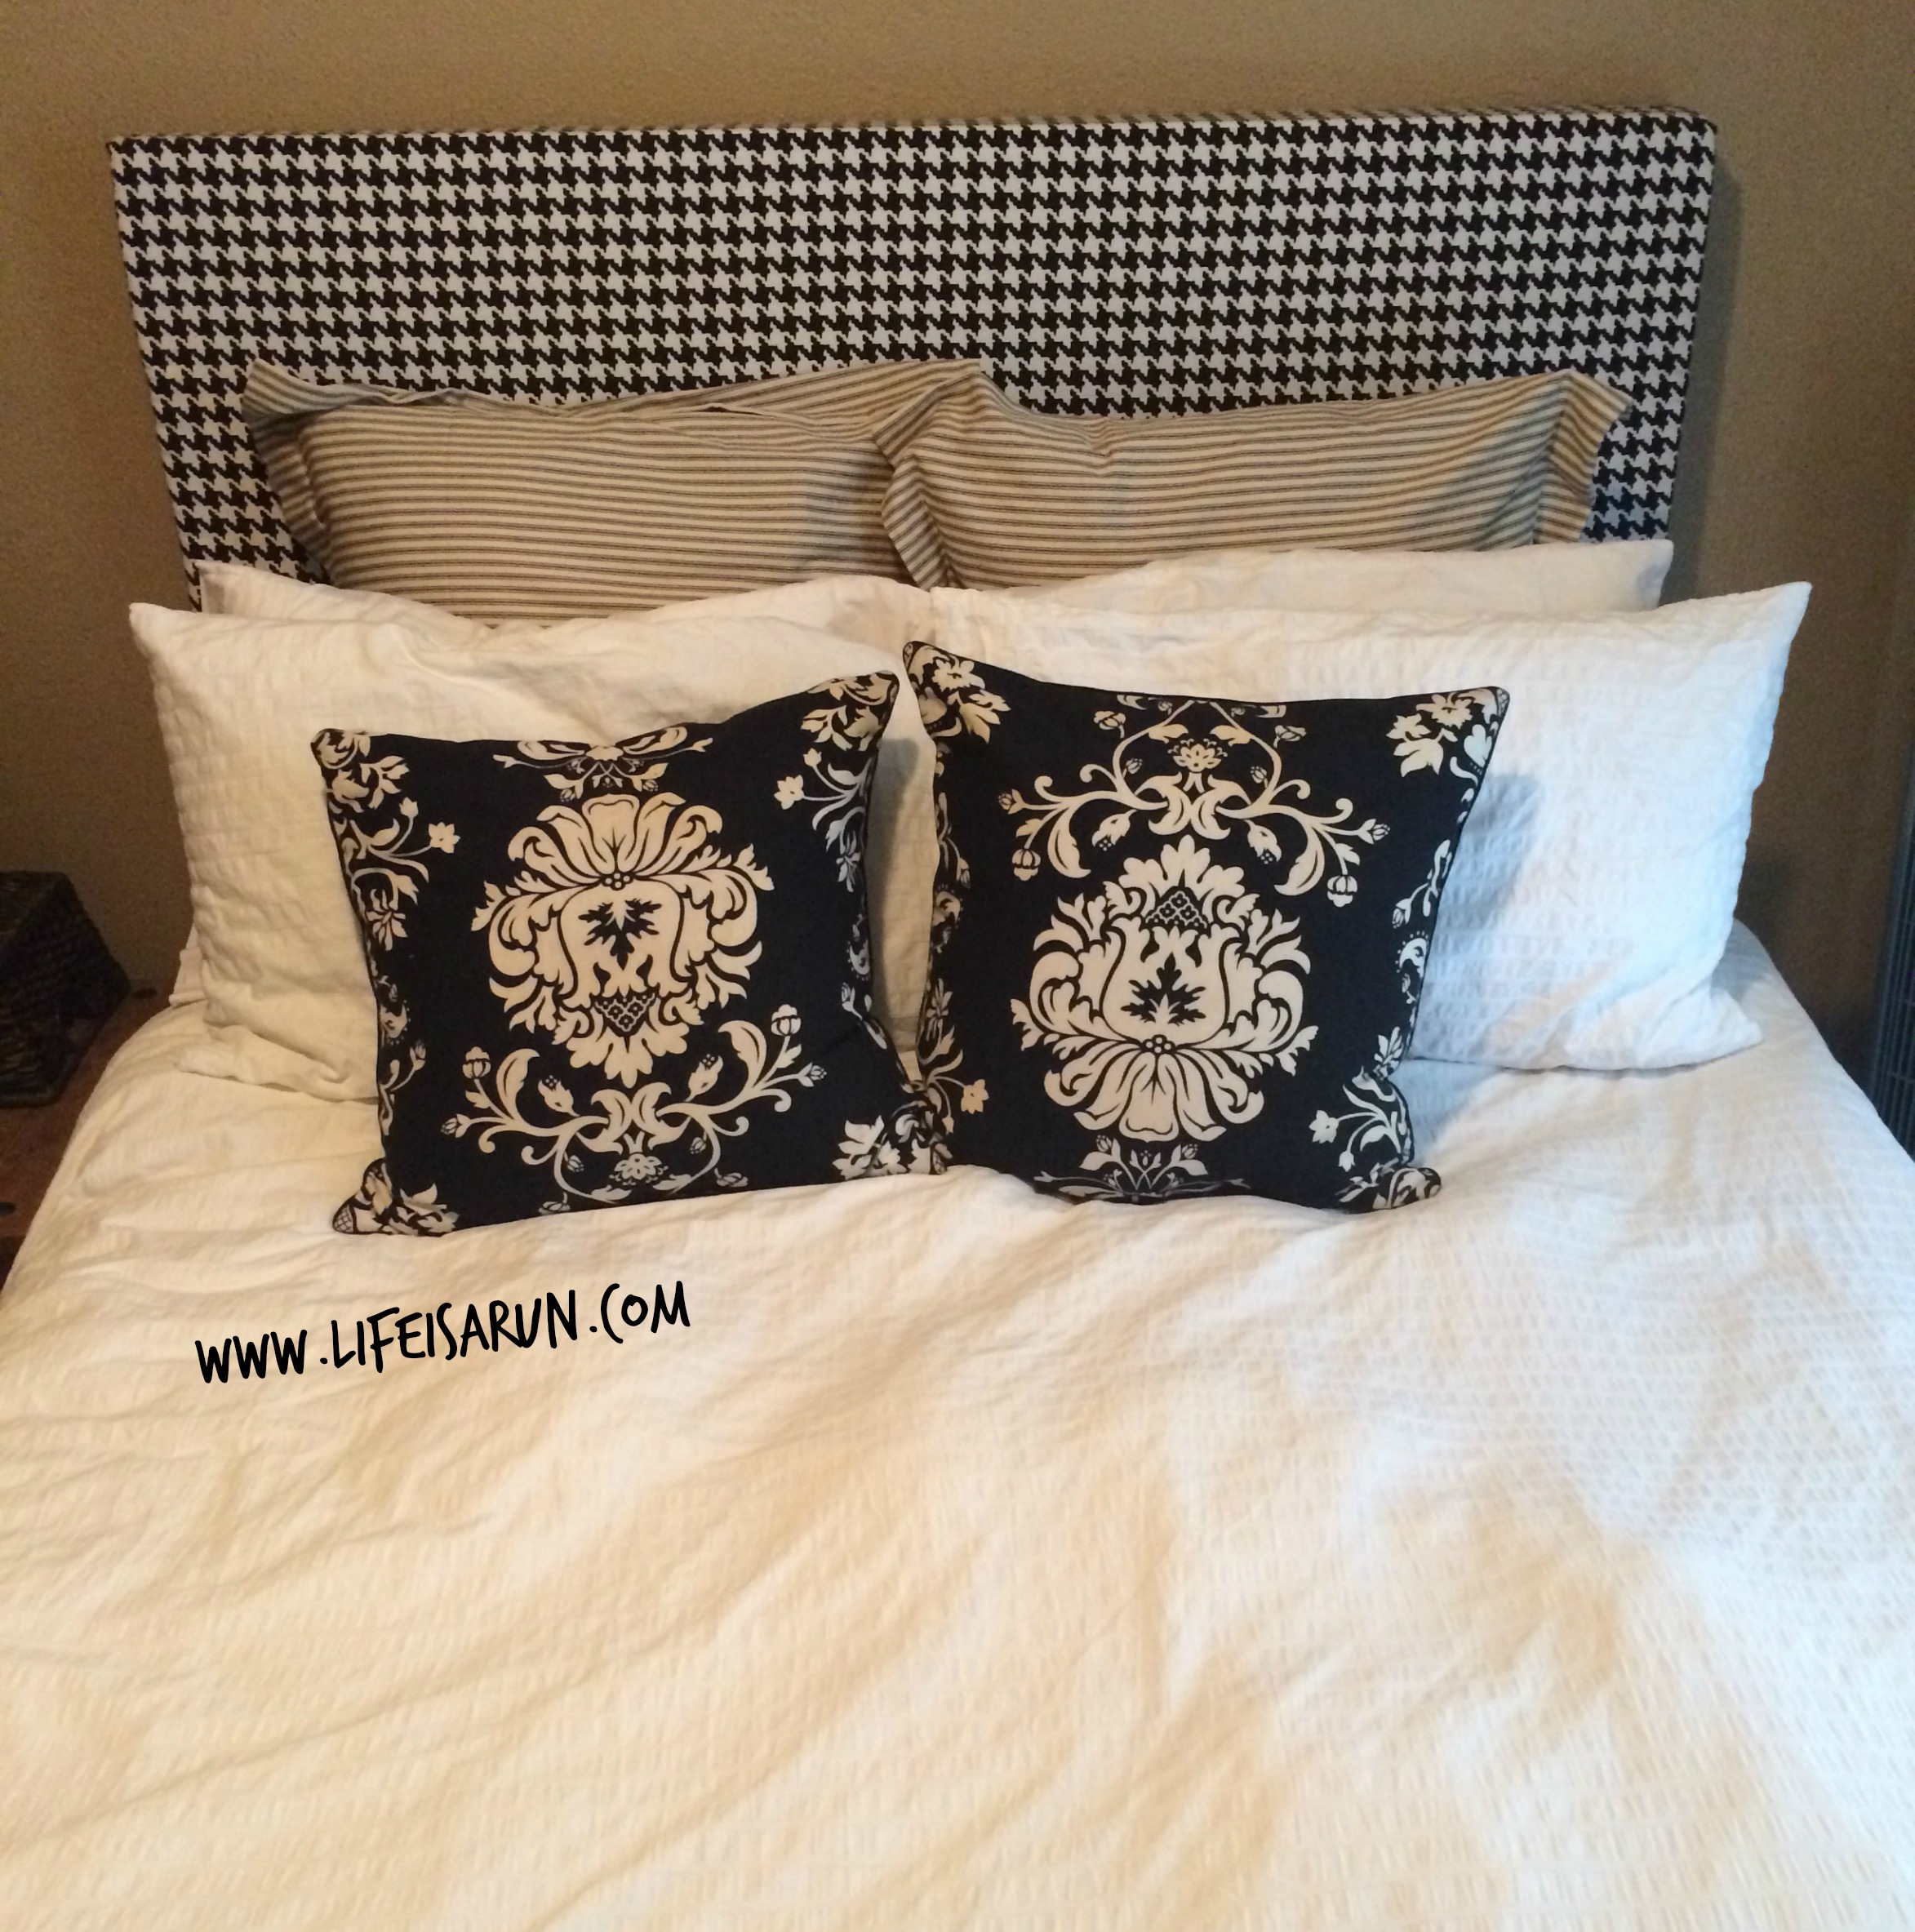
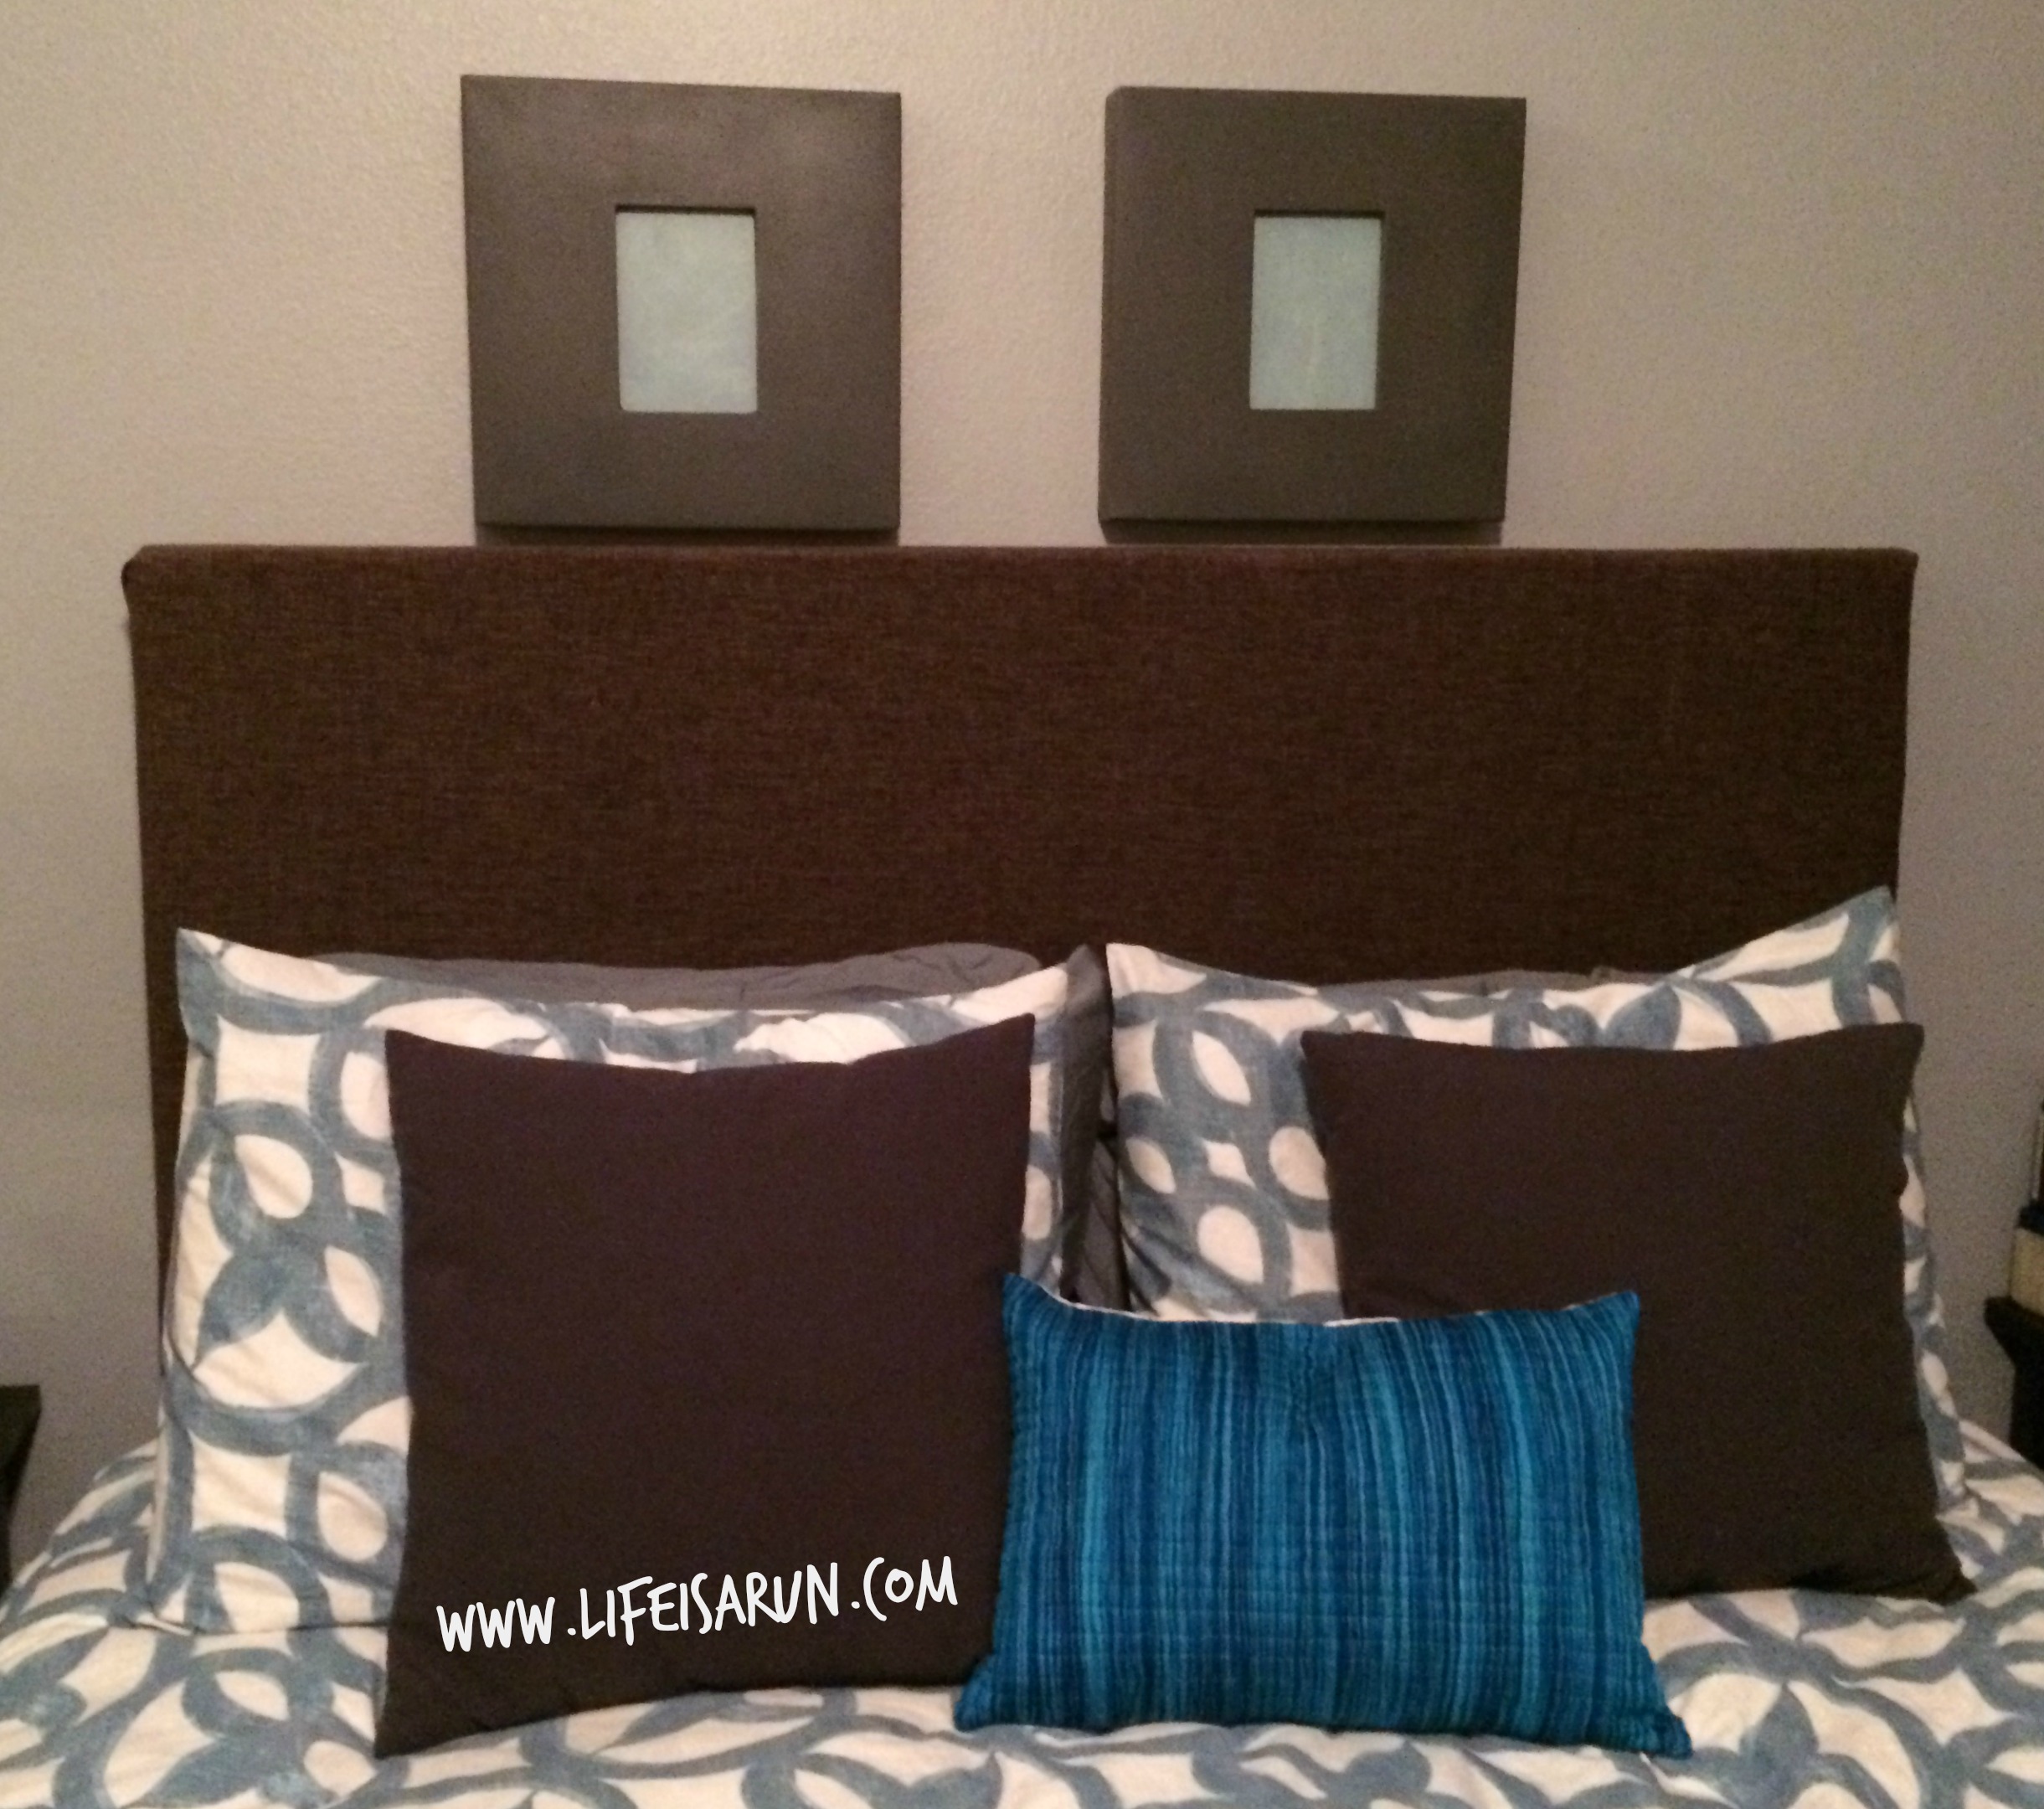
And now for the finished product all set up in our houses: